
DIY Mountain Clock
- leilawight
- Nov 20, 2015
- 1 min read
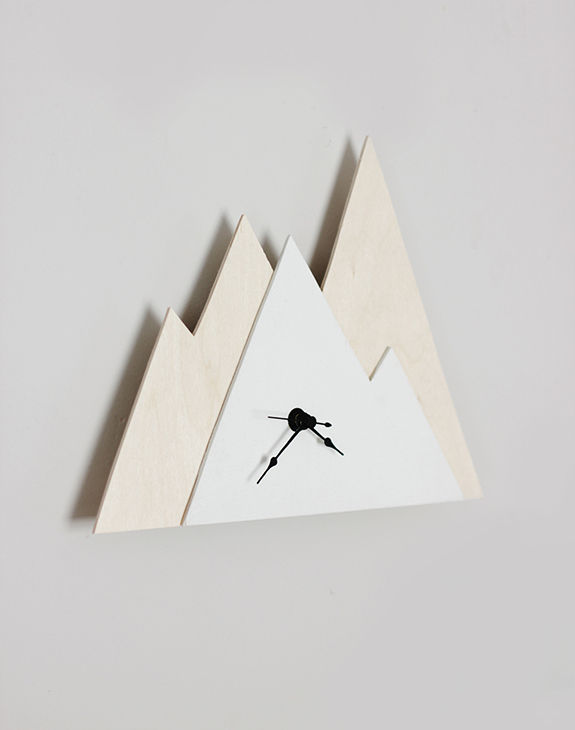
Supplies: -1/8″ Birch Plywood -1/4″ Clock Movement Kit (I painted it black) -Pencil and Ruler -Scroll Saw -Belt Sander or Sand paper -Paint and Paintbrush -Wood Glue -Drill
Step 1.
Use the pencil and ruler to draw out the shapes of the mountains you want. Drill two separate sets of mountains – one that is smaller to go on top of the larger one
Step 2.
Paint the smaller set of mountains white and let dry.
Step 3.
Use wood glue along the back of the white mountains and press in place on top of the larger mountains. Put some heavy books on top and let it dry overnight. Drill a hole through the mountains where you will want the clock hands to be.
Step 4.
Attach your clock according to directions.


Comments